How to create a fully automated job board using no-code tools (Automatio + Webflow + Google Sheets + Zapier)

In this tutorial I'm going to show you how to create a job board website in a few simple steps, using only no-code tools. First I will scrape the data from the Dribbble job board, and list those jobs in my Webflow website. Then I will automate that process, to pick up the new jobs once a day and update my site.
For getting the jobs data, I will use Automatio. Note that Automatio is not just another web scraper! It’s actually a very powerful no-code web automation and data extraction tool that allows you to create bots visually and without writing a single line of code. Once you build a bot, it will run from the cloud server. It has nothing to do with your browser anymore. You can shut down the computer, but Automatio will still run and do the work.
Other tools that I will use in this guide are Google Sheets and Zapier.
And for the website, I will use the Webflow job board template made by Jetboost.
I also made the same tutorial in a video format, so if you prefer that, check it out.
Let’s do this!
Steps that we’re going to take:
- Setup website in Webflow where jobs will be displayed (create CMS collection)
- Scrape jobs data from job board using Automatio
- Send the jobs data to Google Sheets
- Send the jobs data from Google Sheets to Webflow website, through Zapier
- Schedule Automatio to scrape jobs once a day and update the Webflow website
Setup the Webflow website and CMS collection:
First thing that we need to do is to create a new project on Webflow.
What is Webflow? It’s an online visual editor platform that allows you to build and launch websites without writing the code.
For the purpose of this tutorial, I used the cloneable job board template. It already has a CMS collection created, we just have to edit it a little bit to fit our needs.

Don’t forget to save the changes and publish!
Automatio Extension Overview
Now let’s go to the Dribbble job board and open the Automatio extension.
As you can see, it has good UI/UX and it’s very easy to work with. On the side you can see the actions:
- Input action - used to input data into form fields, search bars, text editors
- Click action - used to interact with elements such as buttons, links, dropdowns etc
- Extract action - used to extract the data from the website
- Toolbox action - basically a box with bunch of tools inside it such as taking screenshots, solving captcha, simulating keyboard strokes, and more
- Paginate action - used to paginate through pages
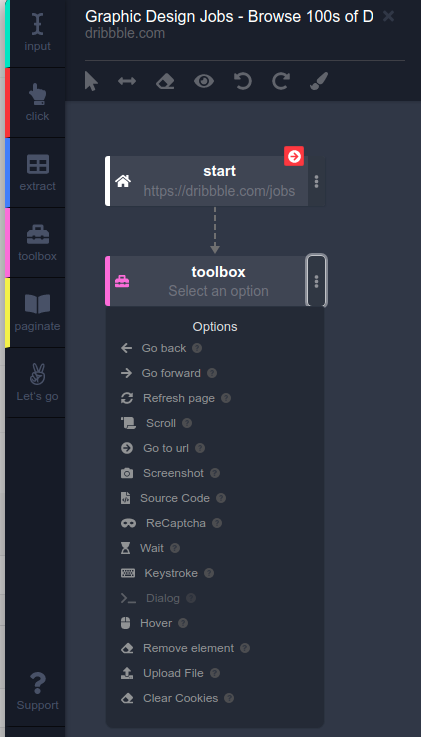
In this case we are going to use the extract action mostly.
Creating Parent Instance
First we will extract the links for all of the job posts and then go to each of the job post pages to scrape the data we need.
As I said it’s very easy to use Automatio. Basically you just hover over the elements and select the ones you need.
I will click on the job title and select the option from the dropdown that says link in order to take the link from it. Then I will give a proper name for each data point, for example, “job post url”. When done, just click the Let’s go button, and Create and Run.
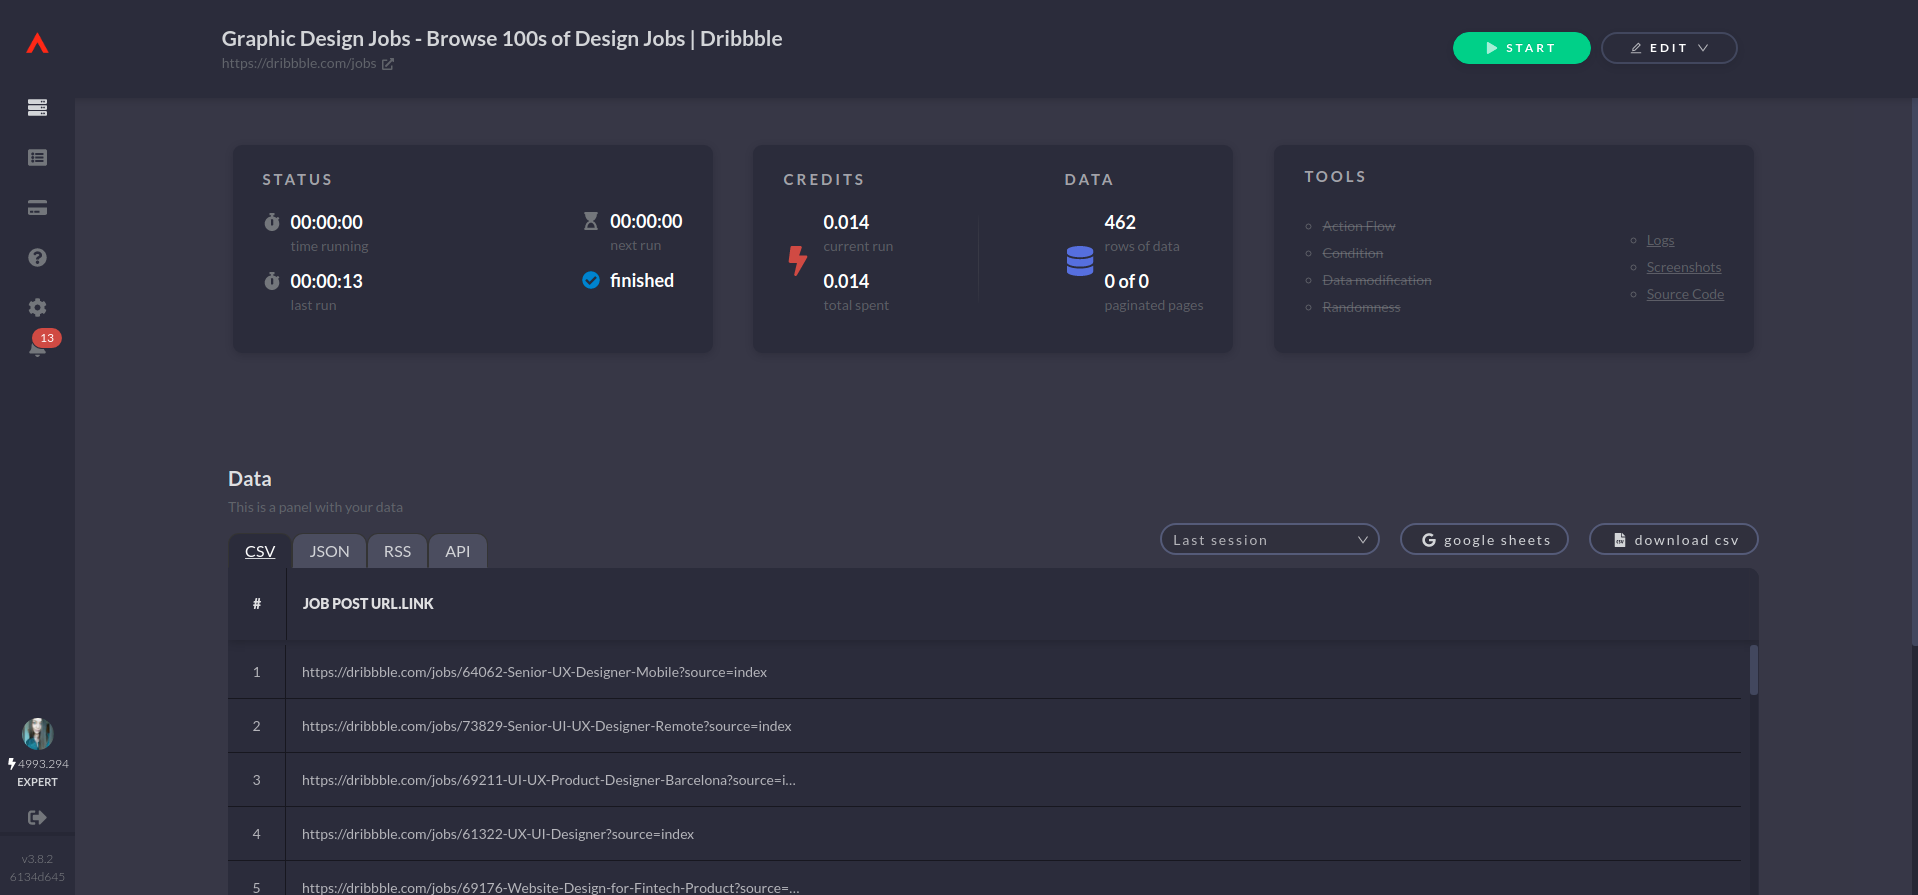
We just created our first/parent instance! Let’s see what we got.
If we go in the Automatio dashboard we will see there all the urls from the job posts.
Now we will go to each one of these urls and scrape the data that we need.
To do that, we will create the new/child instance.
Creating Child Instance
Let’s go to the single job post page now and open the Automatio extension again.
In the start action change the data type to be dynamic. That will give us the option to use the previous instance that we created, as a source of urls of pages that we want to visit and scrape.
You can choose how many results you want to get, and I am going to say 40.
Now let’s tell Automatio what information we need from the job posts.
Before you run the bot, you can click on the preview option to see if everything is okay. If all is good, go create and run the instance.
Very cool thing in the Automatio dashboard is logs and there you can see what is going on actually in the real time.

And here is the CSV data.

Connect Automatio with Google Sheets
Besides exporting your data, you can connect your Google Sheet account and send it in a new sheet directly.
When you click on the google sheets button you will see few options. You can create a new sheet or select the existing one. I will select the existing one and also make sure to be updated in real time.
Then just click sync and that is that!
You will now see the data in your Google Sheet document.

Google sheets to Webflow through Zapier
Now let's send this data to our Webflow website. We will use Zapier for that.
- Select the new spreadsheet row as a trigger
- Connect your Google Sheet account
- Choose the Google Sheet document and tab
- Test trigger and continue
Now let’s connect our Webflow.
- Select action event to be create live item
- Connect your Webflow account and website
- Choose the CMS collection
- Connect the CMS collection fields with the Google Sheet document cells
- Test action and turn on the zap
Connect CMS collection with elements
Now we can see the data sent to our Webflow CMS collection.

What we have to do now is to connect these CMS fields with the elements in our Webflow page.
Schedule Automatio to scrape jobs once a day
Now let’s schedule this whole process to scrape jobs once a day, and update our website.
First we will edit the parent instance.
In the start action select the trigger option to be schedule. Set it for example to run on every 12 hours.
Also make sure to select option stop at duplicate and for the deduplication reference select the job post url. This means that Automatio will scrape only the new links.
Now just click update the instance and that is set.
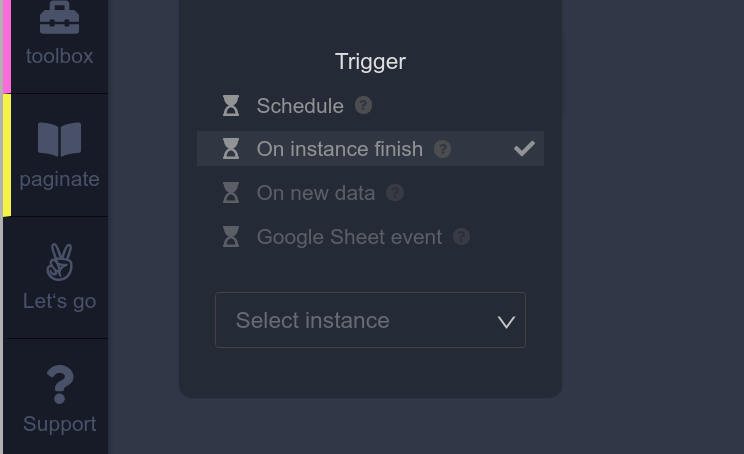
We also have to edit the child instance.
Go in the start action again and give it another trigger which will be On instance finish and select the parent instance. This means that the child instance will run right after the parent instance finishes.
That’s it! We’re done!
We created the fully automated job board which will update itself daily, and all that without writing a single line of code. How amazing?
If you think that Automatio could be useful for you as well you can check more information here. There is also an Early Adopters Program open which gives you a lot of benefits and perks. It also comes with a lifetime discount of 50% for the Expert package, so make sure to fill out the subscribe form and you will get a follow-up email with further instructions on how you can become the early adopter.
That's it for this tutorial! I hope that you found it useful and that you liked it.
If you have any questions, feel free to reach me on Twitter.
Good luck and have fun!